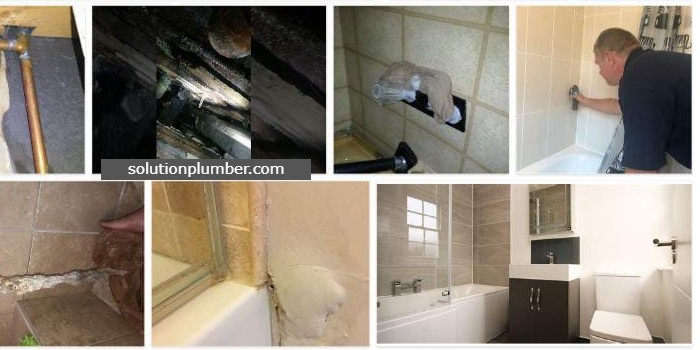
When your shower is leaking behind the wall, it is also associated with a large water bill, which you most likely do not want.
The most dangerous leaks are those that are undetectable. These are the leaks that can cause major harm to your house. If you're experiencing any of these hidden issues, we offer a few ideas that will help you quickly and easily resolve the problem and avoid any additional charges.

When a shower leaks behind a wall, it can result in damaged walls and a large water bill. This is an issue that has to be solved immediately.
Here are some tips on how to deal with a leaky shower behind a wall and what causes it.
THE SIGNS OF SHOWER LEAKING BEHIND WALL
Water Dripping From The Ceiling
Remember that the pipe hole does not have to be exactly above the dripping area. Water can go up a wall or through a ceiling in search of cracks. It's tough to locate the exact location.
Water Stains
They can appear on your basement ceiling or even on the wall. When someone showers above, the water may quickly begin to drip.
Damp Wall Surface
The continuous splashing of water from the spot where the shower is leaking causes the drywall or tile in front of the valve to become spongy to the touch, indicating a leak. Something like this may have happened as a result of the joint wearing out or a mistake made during the casting process.
HOW TO FIX THE SHOWER LEAKING BEHIND A WALL?
If the leak is coming from the shower arm and elbow connection, it shouldn't be too difficult to fix. Remove the escutcheon and examine the threads and pipe joint compound as soon as possible.
The dry and brittle joint compound is sometimes the source of the leak. Remove the pipe junction and use a cotton cloth to polish it.
Wrap Teflon tape anti-clockwise around the shower arm's threads. Using a pipe wrench, secure the connection. The tape won't unravel as a result of this. Reassemble the shower arm after cleaning the dry pipe joint compound.
Turn on the water once you've finished replacing the escutcheon. Cover the panel cutaway with a grill if no leaks are present.
Tightening the shower arm is sometimes all that is required.
Keep in mind that overtightening the shower arm can harm the pipe elbow. If the leak persists, the problem could be at the elbow.
The procedure is same if the leak is in the elbow. Reinstall or replace the shower arm after cleaning the threads. Teflon tape can be used to accomplish this once again.
Simply twist your arm into your elbow. Make sure the connection isn't cross-threaded.
If this doesn't work, the issue could be with the vertical shower pipe. You might be able to fix it yourself, but you'll need access to the shower plumbing first.
If you have an access panel, this is even easier. You'll have to carve a hole in your wall if you don't.
If the leak is caused by a galvanized pipe, the pipe can most likely be replaced.
Simple twisting and turning can be used to accomplish this. If the plumbing is copper, however, the joints are almost certainly soldered.
When it comes to plumbing, soldered copper is the highest grade.
If you do it all by yourself, you won't be able to replace everything and make it as good. Hire a professional plumber if you want the best results.